Sensory Play for babies who put everything in the mouth

Ugh - the mouthing phase! It seems to go on forever and get in the way of soooo many fun activities.
As a child development nerd, I celebrate some important skills in the mouthing phase - like baby's grasping skills and midline hand use (using the hands in the center or the body) and body awareness and sensory exploration.
But as a parent attempting to keep my littles busy and happy, this phase can present a big challenge when it comes to handing over anything more interesting than a teether toy! And, as much as I hate to say it - it's usually not a short phase. You should anticipate drool-soaked and chewed everything at least until 12-18 months!
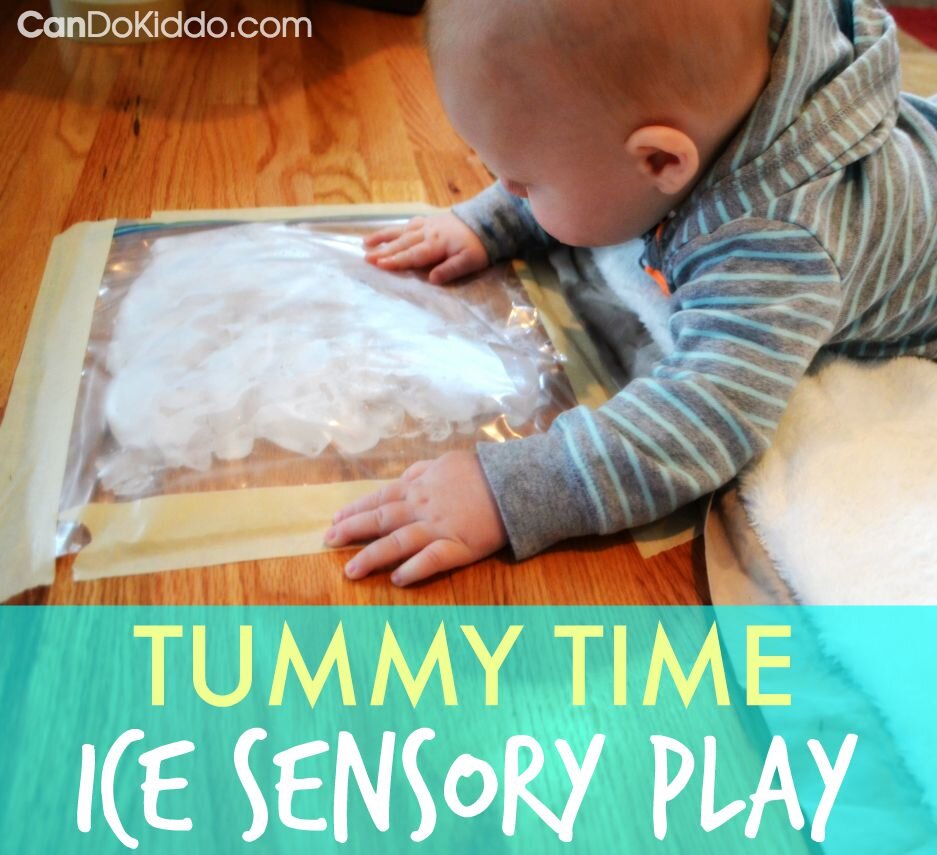
The good news is that with a simple change in strategy, you CAN let your little one safely explore all sorts of objects of ALL shapes and sizes (with close supervision, of course). I wouldn't dream of forking over a bowl of ice cubes to my baby but secured in a Ziploc bag taped to the floor, those ice cubes made for a (safe) Tummy Time arctic hit!
The Benefits of Sensory Bags
Expect your baby to drool on, slap and push on the bag for anywhere from 1-10 minutes, which is awesome attention-span building, hand-eye coordinating, visual scanning and sensory exploration (learn why this is so important) for your little one. Plus if your baby isn't yet sitting, sensory bags make for GREAT Tummy Time activity!
Making A Sensory Bag
To make a sensory bag, you'll need a sturdy gallon-sized freezer bag (or two if you want to double up for extra peace of mind), in some cases some sort of thick fluid to fill the bag, and small items for baby to look at and touch.
Sensory Bags for Different Ages and Stages
Tummy Time
Simply use wide tape to tape the sides of the bag to prevent leaks and/or to tape the bag to the floor for Tummy Time. If baby isn't yet able to reach in Tummy Time (learn more about Tummy Time milestones here), use a nursing pillow or folded blanket/towel to lift baby's chest and free his hands to reach, touch and grasp. Need some help with Tummy Time?
Seated Play
If your baby can sit up, you can let him hold and shake the bag or you can tape it to a vertical surface like a window, cabinet or the front of your dishwasher ...you know, if you're into keeping baby busy with developmental play while you get meals prepped and cleaned ;) You can also tape a bag to the floor under baby's feet while he's in a jumper or exersaucer. Those are two pieces of equipment that aren't necessary but they're in many homes and get lots of use, so why not up the sensory play while baby spends short periods of time in them! (learn more about choosing and using baby gear wisely from a developmental perspective in my free resource, The Happy Healthy Baby Gear Guide)
Standing Play
If baby can stand, you can tape sensory bags to the top of a low table or shelf or tape to a vertical surface at chest or shoulder height (again, like a window, cabinet or the front of your dishwasher).
Sensory Bag Basics
While you can really put almost ANYTHING in a sensory bag, in general it helps make them more interesting to have some sort of "background substance" and then "little thingamajigs" (highly technical child development terms there!). And some materials, like ice and water beads are fascinating enough on their own to keep babies busy without little thingamajigs added...making those bags ridiculously simple to make.
These "background substances" can be wet (like baby oil) or dry (like unpopped popcorn kernels). This makes the same activity - a sensory bag - a VERY different sensory experience based on what you put inside! Make sure to select "little thingamajigs" that aren't pointy so they don't rip the bag (or poke your little one).
Pour your ingredients in, squeeze as much of the air out of the bag as you can and then seal it. Double check that it's sealed. And then triple check. And possibly duct tape the edges of the bag for good measure.
Taping the bag to the floor is optional but since if your little one has or is cutting teeth, it'll keep him from "going gopher" and ripping the bag open.
There are tons of "recipes" for sensory bags online (helloooo Pinterest rabbit hole to tumble down for an hour) but you can also have some fun making them up. And you KNOW I love coming up with activities based on what I already have instead of running to the store and getting new things for one activity!
"Background Substance" Ideas:
Dry rice
Dry beans
Super cheap colored hair gel (mmm, smells nice doesn't it?!)
Water
Baby oil
Sand
Cereal
Crushed crackers
Flour
Sugar
Shaving Cream
Play-dough
Paint
Dry popcorn kernels
Cotton balls
Shredded Paper
Cooked pasta noodles
Dry pasta noodles
Jell-o
Pudding
Dried Leaves, cut flowers or other materials from the great outdoors
Ice
"Little Thingamajig" Ideas:
Buttons
Glitter
Marbles or other balls too small to give your kiddo
Googly Eyes (for craft projects)
Gummy bears or gummy worms
Beads
Water beads or Tapioca beads
Fake flowers or leaves
Seashells
Craft pompoms
Little foam shapes
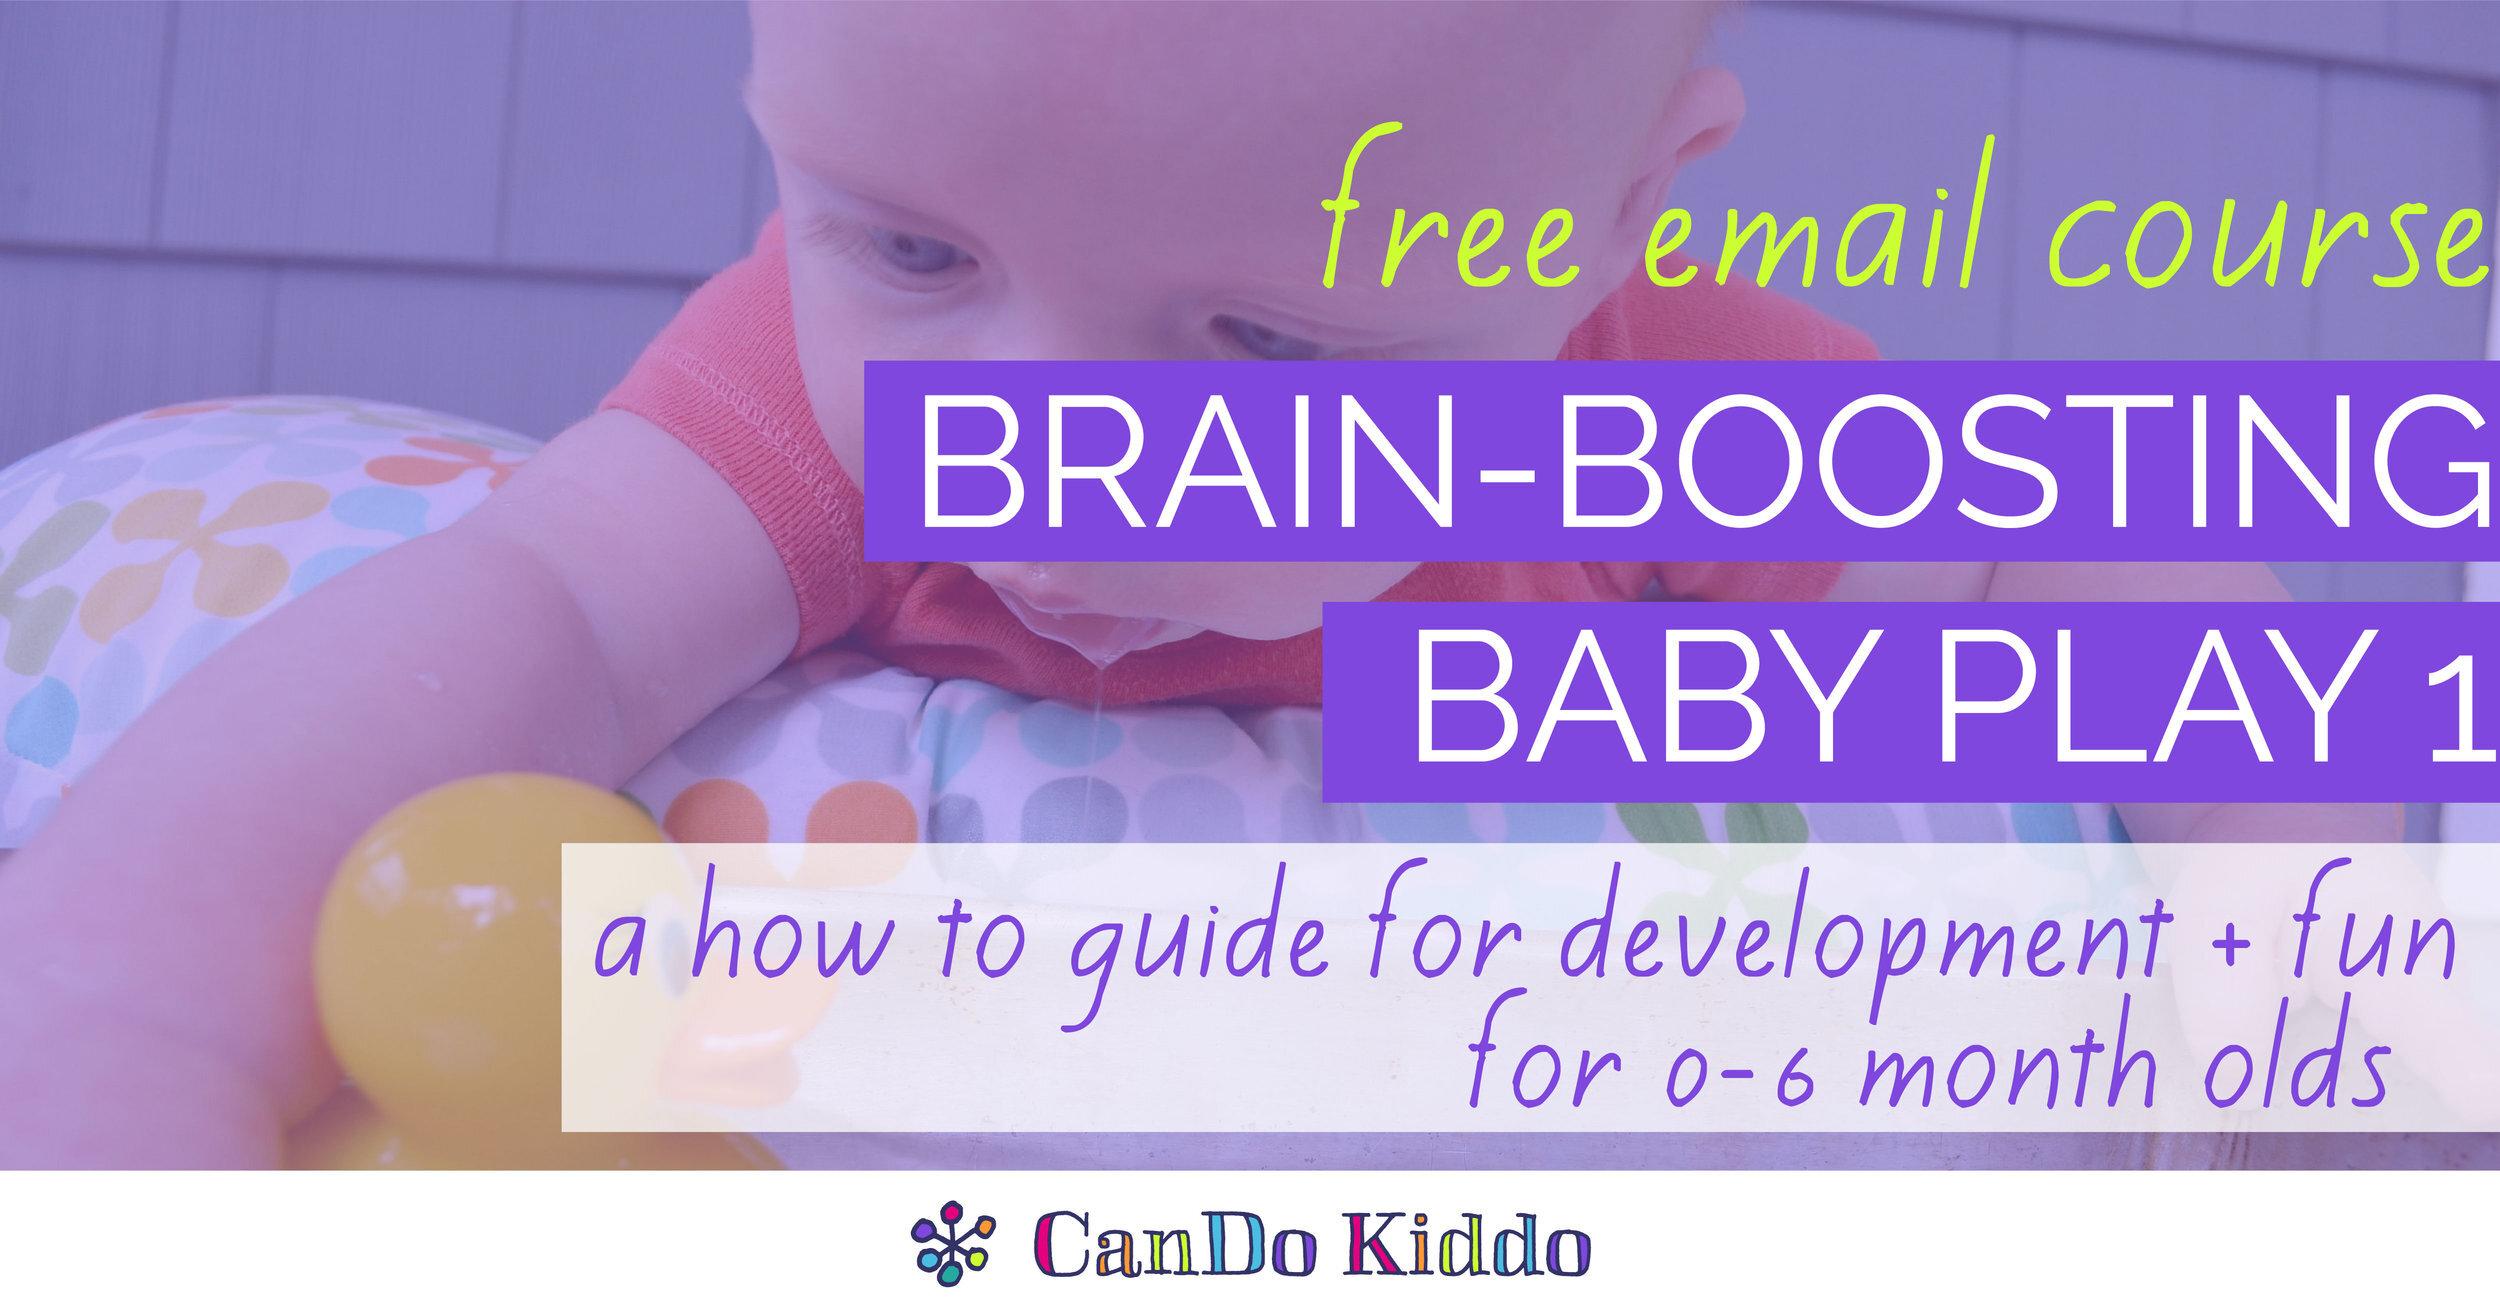
I created a free email course just for you! Understanding your baby's development and how to promote it shouldn't require a degree or a 200 pg. book that you don't have the time to read. I created a free course that will give you:
an understanding of the mini-milestones your baby needs to reach before the BIG milestones like crawling, standing and walking
simple developmental play activities to promote those mini-milestones with stuff you already own
CLICK HERE to sign up for the 0-6 months version or CLICK HERE to sign up for the 6-12 months version. Or click on one of the images below:

Related Products:
Begin With A Blanket
Creative play activities & healthy development from birth to sitting. LEARN MORE

Simple Play
Creative play activities & healthy development from sitting to walking. LEARN MORE